More Work With Studio D, Part 5
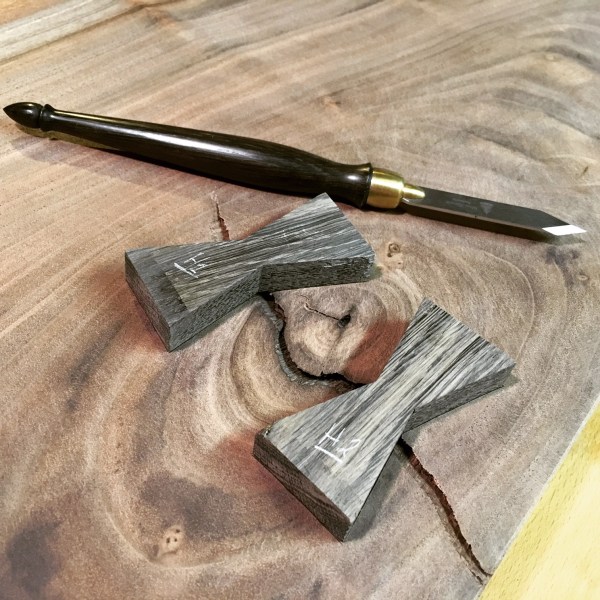
With the tops properly thicknessed, jointed, and cut to size, I began work on the butterflies. The first task was to make more butterflies. I began doing so with the remains of a small plank of bog oak I had left over from another project (a commission I have Caleb James, Planemaker working on). As I made some cuts to free butterflies from their matrix, I paused to admire how great a job my old bandsaw was doing.

Nice, clean cuts!
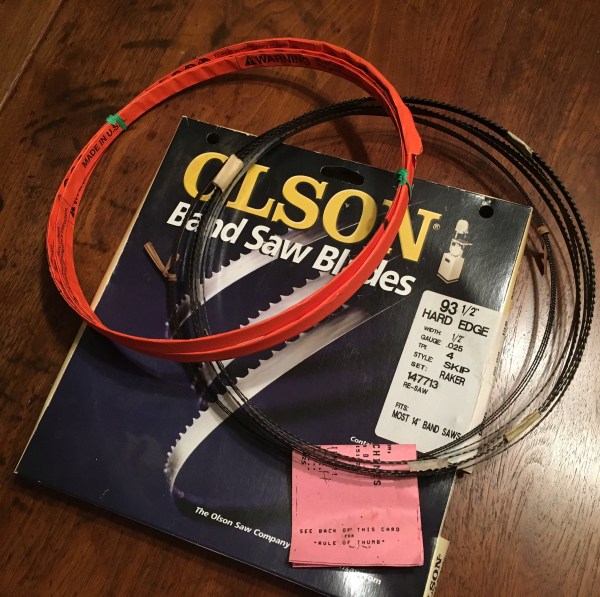
Apparently Karma thought I was getting cocky, because not two minutes later my blade broke. ![]() The blade breaking was not in itself such a problem. It happens. It was an old blade and it broke at a patched weld. No, it was a problem because I had absolutely no idea where my other bandsaw blades were. At some point during my move into the condo, they were boxed up… and that’s all I knew.
The blade breaking was not in itself such a problem. It happens. It was an old blade and it broke at a patched weld. No, it was a problem because I had absolutely no idea where my other bandsaw blades were. At some point during my move into the condo, they were boxed up… and that’s all I knew.
I spent three hours looking through all of my boxes with woodworking equipment and tools for my other bandsaw blades – multiple times, actually – all to no avail. I growled in frustration and begrudgingly drove to Woodcraft to pick up a new blade.
An hour after installing the new blade, I found my other blades, in a box I’d checked three times but apparently hadn’t fully opened to see the blades quietly sitting on the top at the other end of the box.
Masters of ‘Hide and Seek’…
*sigh* Regardless, I was back in business and quickly made a kaleidoscope of butterflies…

A kaleidoscope of butterflies… (and some scrap off-cuts I probably won’t throw away)
After cutting them on the bandsaw, I use a bench hook and a sharp chisel to pare the sides smooth and add just the slightest chamfer towards the bottom of the butterfly on all sides. This chamfer is usually not more than one or two thousandths of an inch.
With butterflies all in order, I laid out some butterfly options to stabilize the split knot in the hall table. Everyone has their own methods for figuring out where to put these inlays – mine is to lay them out in various ways and take pictures, then examine and compare the pictures to see what looks best while also stabilizing the intended area.
In this case, I decided on two butterflies. Sticking them down in place with double-sided tape, I traced the bottom edges of the butterflies with my large Blue Spruce marking knife and then removed the inlays.
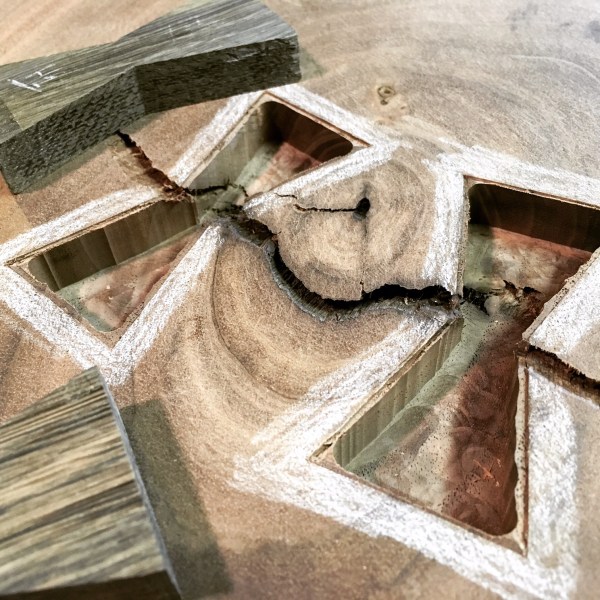
In order to properly delineate the edges of the mortises I needed to make, I chiseled out a wedge of wood along the entire border of each butterfly and used white pencil to highlight the wood to remain.

In preparation for removing the bulk of the waste with a (corded) router, I drilled a series of holes in each end of the butterfly. Chopping out the waste between the three holes leaves me a place to drop in my router bit. I have to do this because I’d rather use my smaller palm router, a Bosch 1608 edge trimmer, which does not have plunge capabilities, than my larger Bosch 1617.

After removing most of the waste with the palm router, I’m left with the smallest amount of wood along each edge.
This remaining waste is easily removed with a sharp chisel.

Once I have the waste removed, I fitted the butterflies in place and tapped them in about 1/8” or so to make sure they fit. They did, so I pulled them back out, added glue to all of the walls of the holes, and cautioned them to fall into place without a fight by showing them my joiner’s mallet. That didn’t work, so I had to resort to seating them with the mallet and a scrap of wood. They didn’t put up much of a fight and I could tell they were a very tight and pleasing fit.

They seated so well, in fact, that I didn’t wait but a minute to begin cutting them flush with my Veritas flush-cutting saw.

After a little bit of work with a block plane and some sandpaper, I’m left with this.

Not bad. I had a paper-thick gap on the end of the top butterfly and a tiny corner chip out on the near one; these things are easily fixed with a minor bit of epoxy later on.
Now to start on the smaller end table…
TKW


That looks impressive.
Thanks for the tip regarding how to route out the recess for a butterfly. I would like to use butterflies in a table at some time, but my table slabs could still need a bit more drying before I start.
Brgds
Jonas
LikeLike
I have more stuff to add. Will try and do that in the near future. The two tables are done. I’ll be delivering them tomorrow. I already have several projects lined up for the shop after that. Excited to get them started.
LikeLike