Taming of the Tote
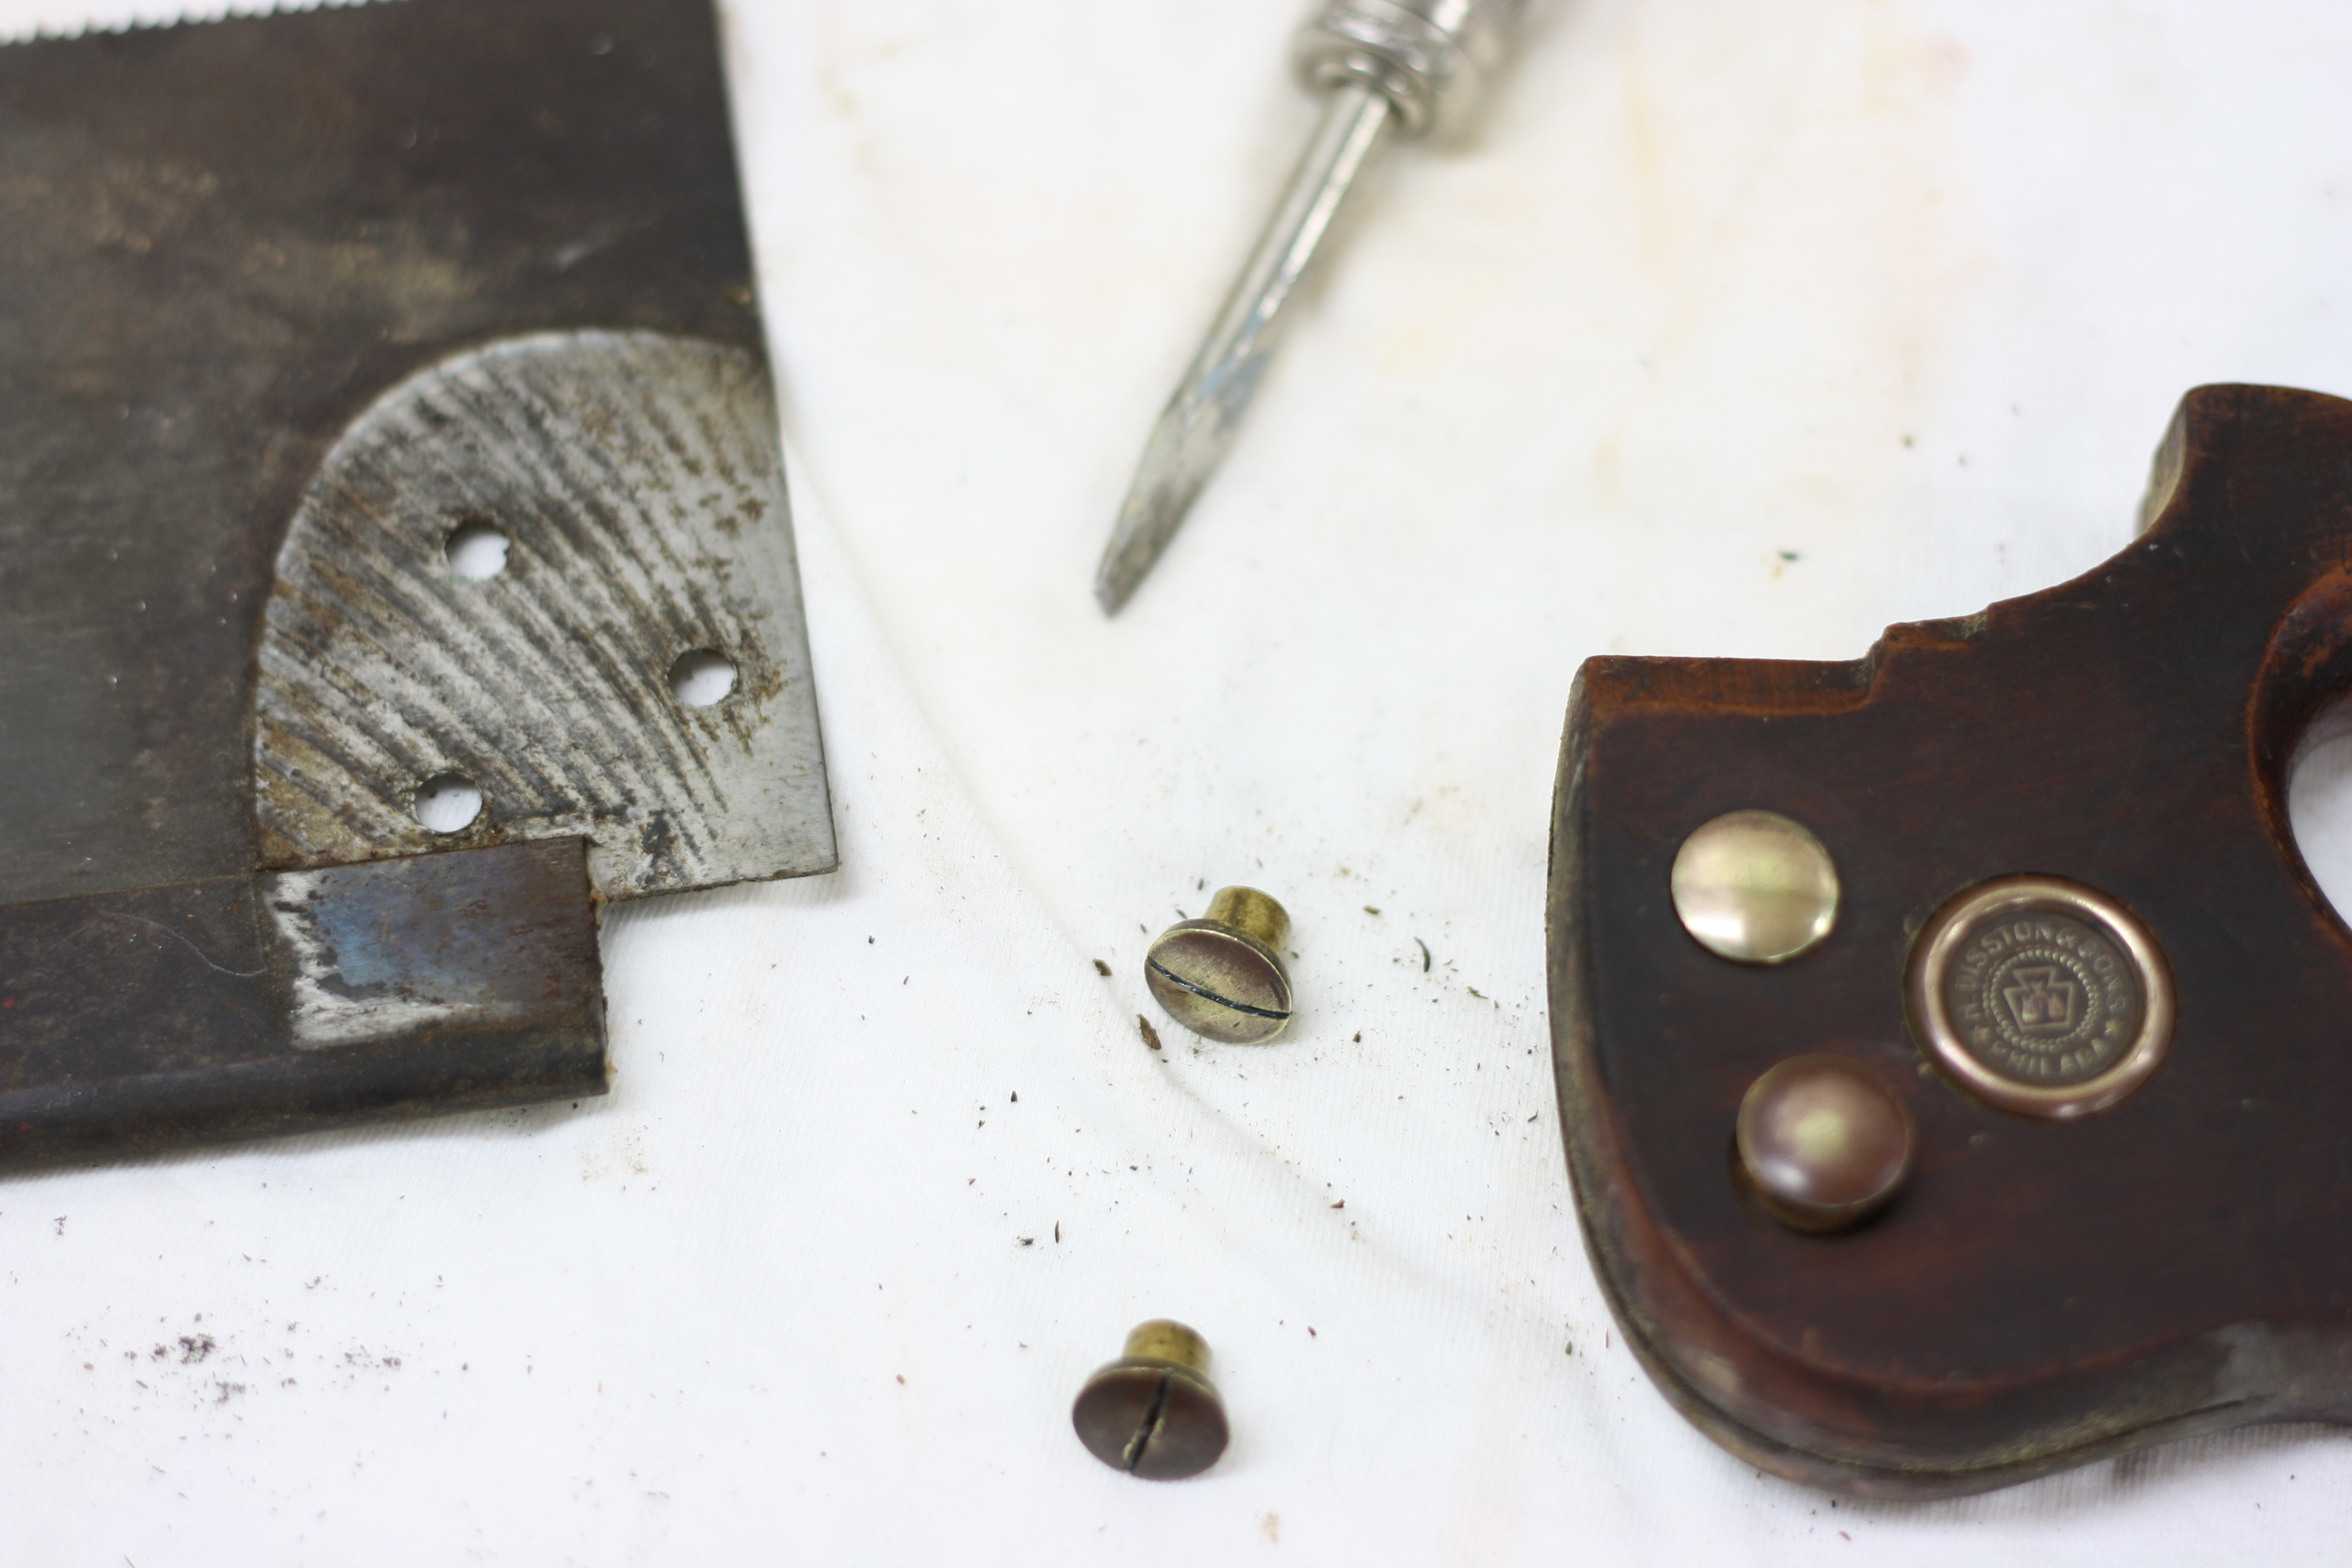
Disston 14″ Back Saw Disassembled
Recently, I picked up a Craftsman 3646 miter box and have been working on restoring it. Even though the Craig’s List ad was for the miter box, what caught my attention was actually the saw that came with it – from what I could tell, aside from being completely filthy and missing one of the slotted nuts, it appeared to have a nice, crisp chip-free tote in my preferred style. I do not believe this particular miter box originally came with a saw, so this was probably just the saw the previous owner used with it.
After spending some time getting the miter box in shape, I turned my attentions to the saw. A bit of examination produced the following information:
- 14” Disston backsaw
- 12 TPI, 3.5” left under the back
- 1896-1917 era medallion
- Applewood tote of the same era
- Aside from missing one half of one of the saw nuts (the slotted half), and despite 100 years of grease and grime, the saw was in great condition
I was excited to see what kind of condition I could bring this saw back into, so I got to work. The first thing I did was contact Joe Federici, author of Positive Rake and a restorer of saws, with a few questions I had. He responded with lots of valuable information on what worked best for him and where he bought some of the equipment he used. With his information in hand, I went down into the workroom and got to it. (Oh, he was also able to provide me with a replacement slotted saw nut.)
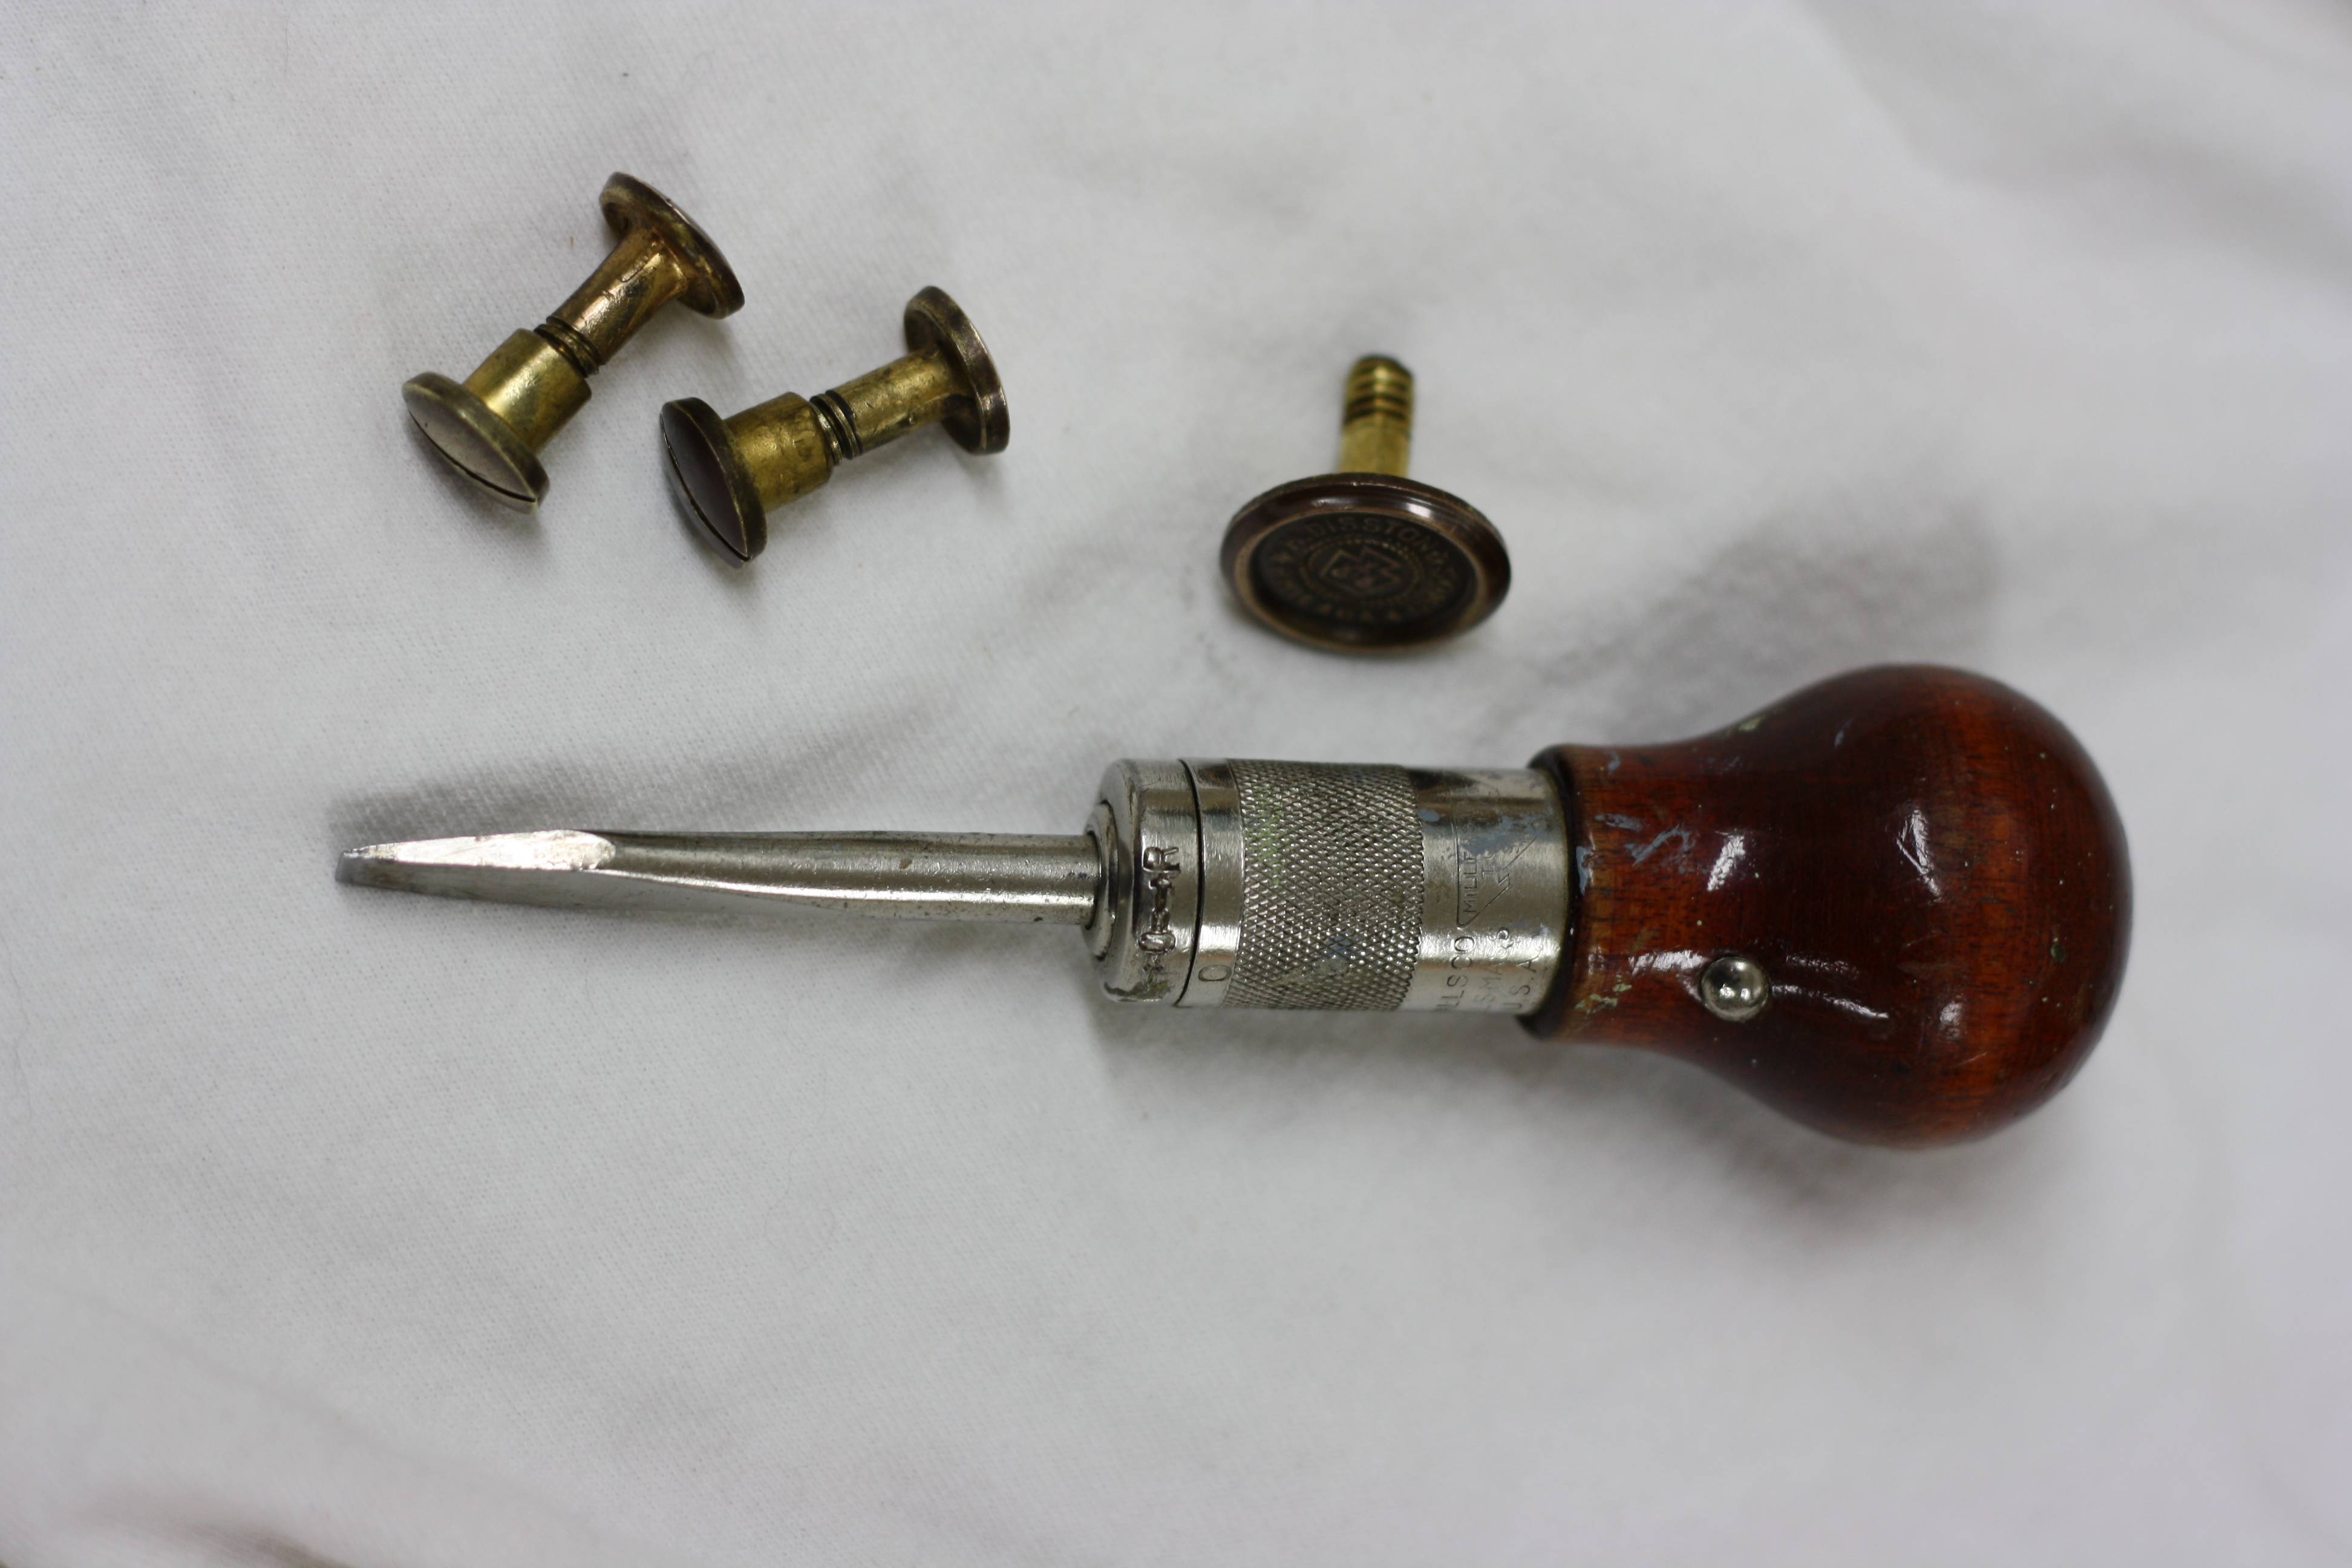
Millers Falls No. 63 Ratcheting Screwdriver
One of the tools that came with the cast iron file handle I picked up at auction a few months ago was a small screwdriver. Now, I probably needed another screw driver like I needed another hole in my head. But, as it turns out, this is a very nice little bit of work. Another Millers Falls product, this is the No. 63 Ratcheting screwdriver. The ratcheting system is easy to adjust with a quick finger motion and the head of the screwdriver is strong and nice and thin at the end. It fits the palm of my hand comfortably and happens to work perfectly for unscrewing standard slotted saw nuts. So I kept it. Still trying to figure out where to put that other hole in my head…
After breaking down the saw into all of its individual components, I started working on the brass. I gave each piece a quick dip into Jax Instant Brass And Copper Cleaner (available from www.Metaliferous.com) and scrubbed it with a soft brass wire brush (also available from http://www.Metaliferous.com). This cleaned them and gave them a nice matte finish, which is just what I wanted. I finished them off with a quick rinse in fresh water and set them out to dry.
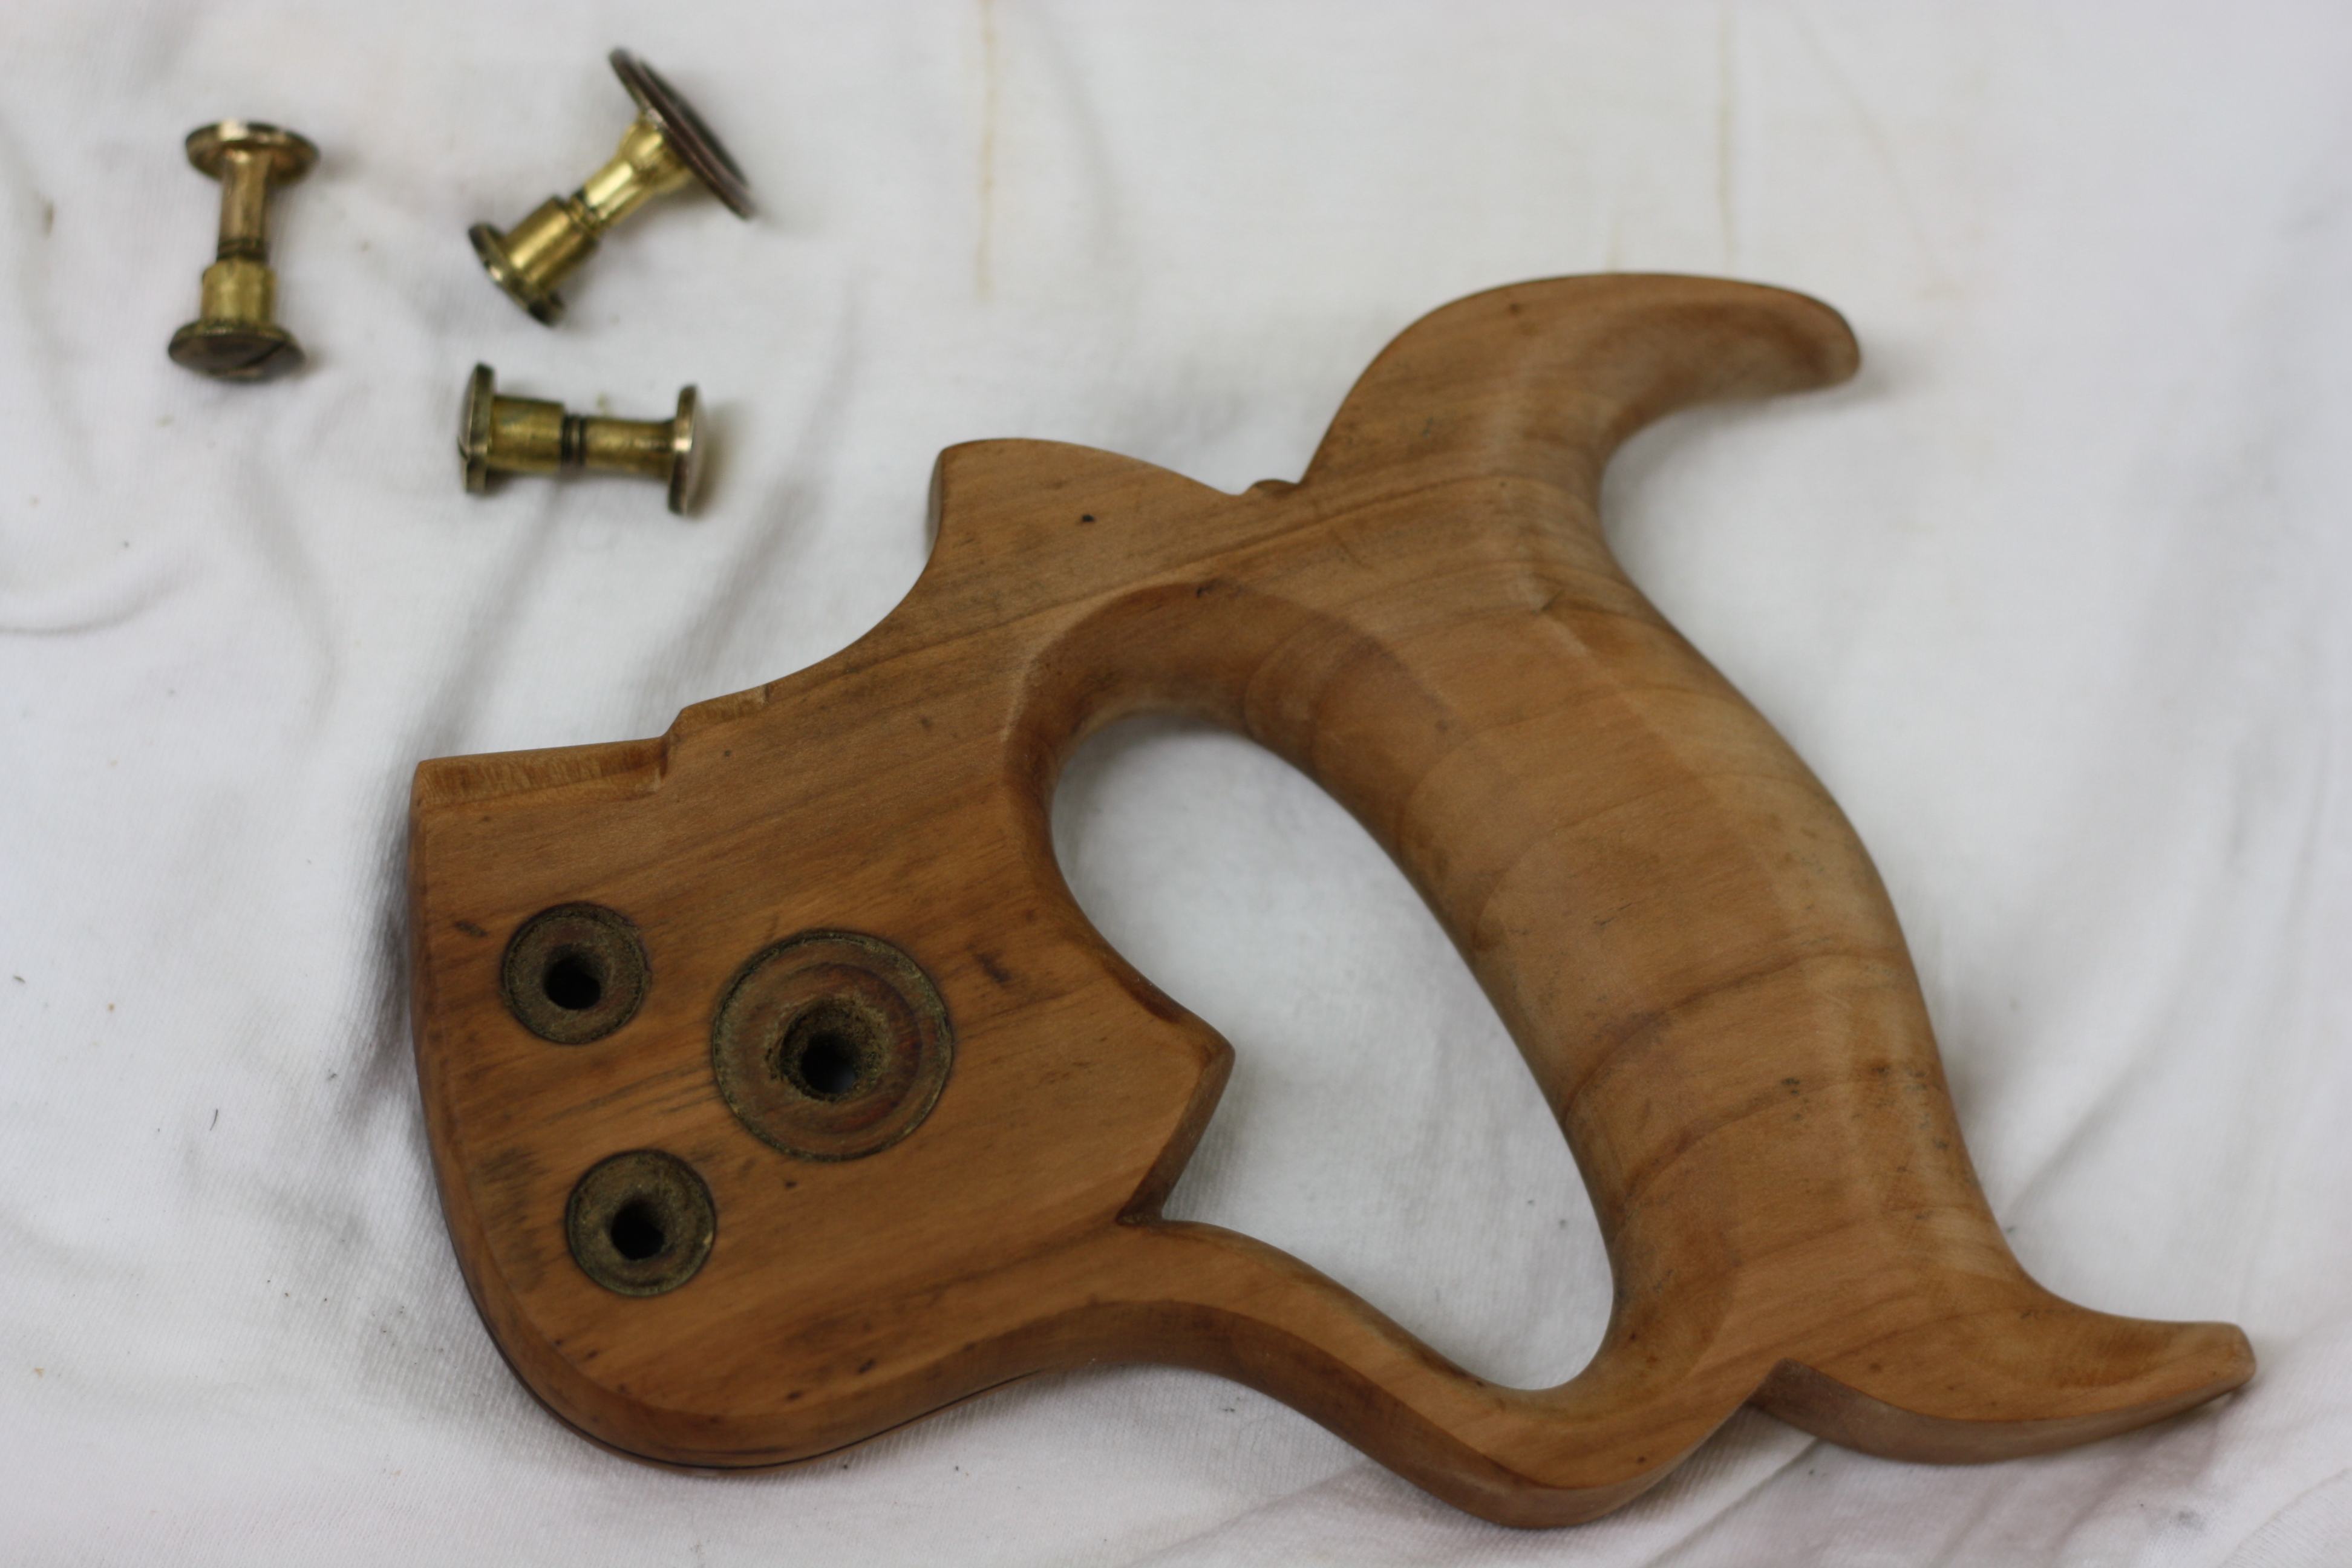
The Tote After Hurricane Sanding
Next I tackled the tote. It really was in perfect condition, structurally, so it just needed a good cleaning. I sprayed it with Krud Kutter degreaser and started scrubbing with a green scouring pad. When it was covered in a slurry of grime and gunk and degreaser, I’d wipe it down with a blue shop towel and spray fresh degreaser on it. Once I had a significantly cleaner tote, I use a shop knife to gently scrape off the last bits of the original finish that were tenaciously hanging on. Then in order to even everything out, I sanded the tote with some 220 grit sandpaper. To maintain the crisp appearance, I finished sanding each side by wrapping the sandpaper around a sanding block and hitting the flats of both sides of the tote. After wiping it down really well, I applied two coats of Moses T’s Gunstocker’s Finish, waiting 24 hours between coats, and added a coat of Renaissance Wax.
Next time, I’ll discuss the saw plate and the back. Stay tuned.
TKW


Trackbacks